If there's a cookie that reminds me of childhood it's, by far, the Forgotten Cookie. We always had the recipe taped up in my mother's cupboard right next to the stove. Our family friend Patsy would make them whenever she visited us. Upon finding the recipe, copied one day in haste, I see that it also says it's Aunt Filly's recipe, although I don't recall her making them. I'll have to inquire further!
 |
| The recipe (a copy, not the coveted original) |
These are simple, sugar-filled cookies which give the feeling of eating a cloud filled with chocolate chips. Simply heavenly. Simple to cook and a great recipe for children to create (with the help of an adult, of course). These Forgotten Cookies are meringue cookies, called "forgotten" because the last step requires putting the cookies in the oven and turning the oven off leaving them overnight to "forget" and be found, happily, in the morning hours.

Ingredients:
2 Egg Whites
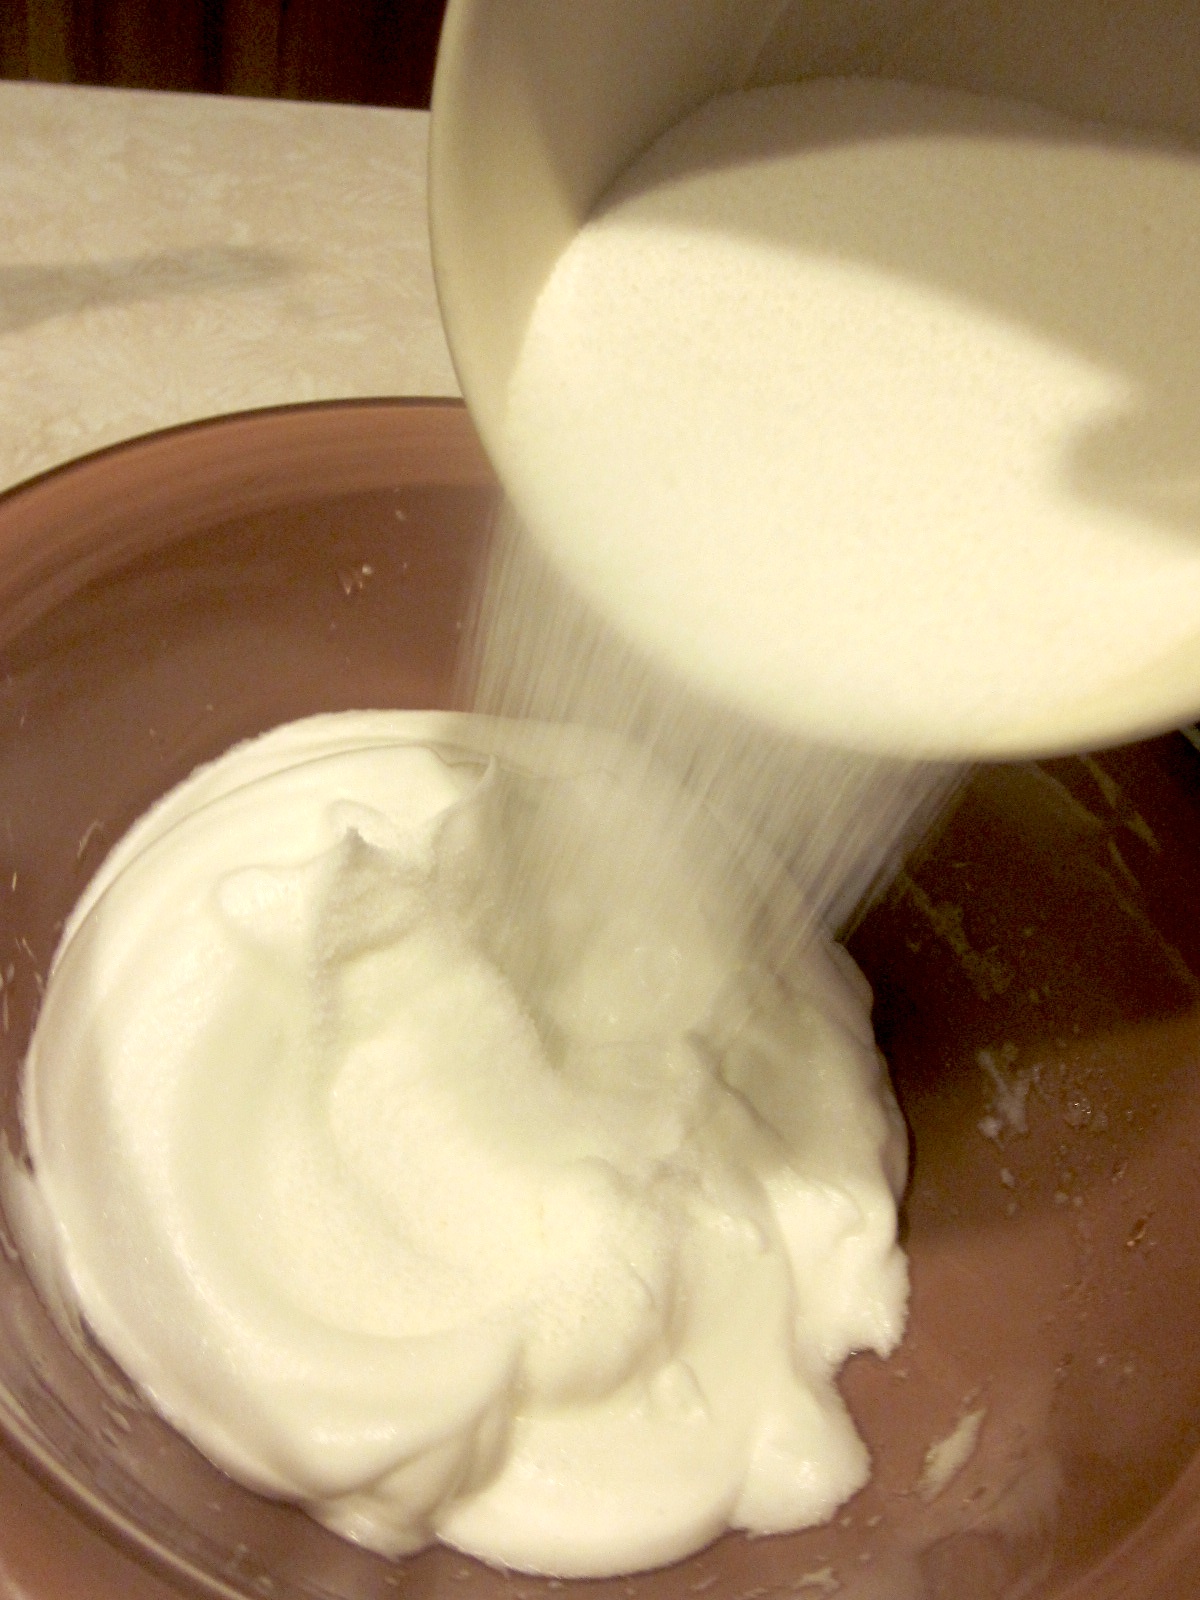
2/3 Cup Sugar
6 Ounce Pack of Chocolate Chips
1 Tsp Vanilla
Supplies:
Cookie Sheet lined with aluminum foil
Whisk or hand blender
Mixing Bowl
Preheat oven to 350 degrees.
In a medium size mixing bowl mix 2 egg whites (forever) until they're stiff and stand in peaks:


 |
| Perfect peaks Mix in sugar, chocolate chips, and vanilla. I was lucky enough to have my friend's homemade vanilla! Delicious! |

Dollop the mixture onto the aluminum foil covered cookie sheet. Your cookies will fluff up while cooking to about 1.5 times the size of the dollop you put down.

Place your cookie sheet into the oven and *get ready for this* TURN THE OVEN OFF! Do not open the oven. Leave the cookies in the oven overnight (5-6 hours). They cook in a nice low decreasing heat. In the morning, you'll have some delightful goodies to test!

These make a great bake-ahead treat for parties in the holiday season when you just don't have all of the time in the world. And if you leave some in the oven for Santa I'm sure he'll be happy, too.


